Crimson Velvet Cookies How to Bake Them
Red Velvet Cookies That Taste Like a Hug from Grandma
I’ll never forget the first time I bit into a truly perfect red velvet cookie—it was soft, slightly tangy, with that unmistakable cocoa-kissed flavor and a swirl of Cream Cheese frosting that made my eyes roll back in pure joy. I’d tried store-bought versions before, but they always felt… off. Too sweet, too dry, or worse—artificially red. So I set out to recreate that magic at home, and after a dozen batches (and way too much frosting sampling), I landed on this recipe. It’s become my go-to for birthdays, holiday swaps, or just because I deserve a little treat. These red velvet cookies aren’t just cookies—they’re little bites of nostalgia wrapped in crimson crinkles and topped with clouds of creamy frosting. If you’ve ever loved red velvet cake but wished it came in handheld form, your dreams just came true.
What Is Red Velvet Cookies?
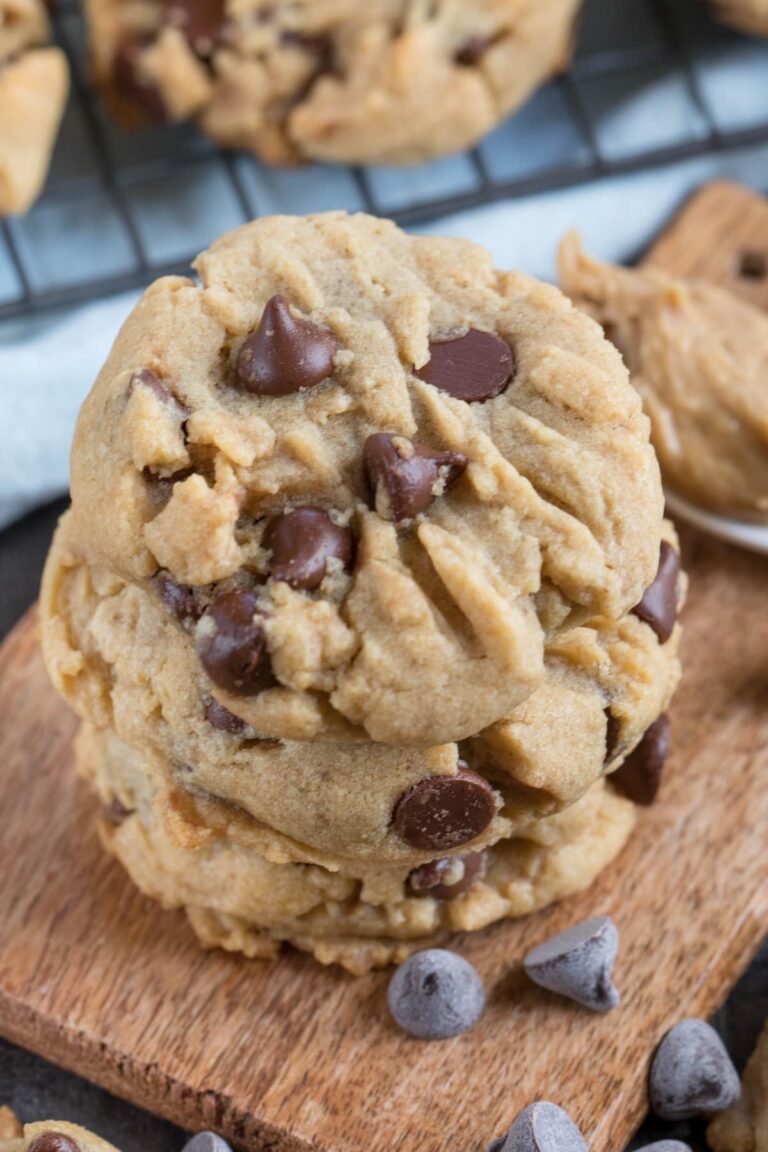
Red velvet cookies are the handheld cousin of the classic red velvet cake—think rich, moist, cocoa-infused dough with a subtle tang from buttermilk and vinegar, dyed a gorgeous deep red (naturally or with food coloring), and finished with a swoop of cream cheese frosting. Unlike Chocolate Cookies, red velvet has a distinctively mild cocoa flavor—more like a whisper than a shout—balanced by creamy, slightly sharp frosting that cuts through the sweetness. The texture? Oh, it’s everything: soft-centered, slightly chewy on the edges, and tender enough to melt on your tongue. Originating from the American South, red velvet gained fame in the early 20th century, and while its roots are debated (some say it’s the natural reaction of acidic ingredients with cocoa), one thing’s certain—these cookies are pure comfort in cookie form. Whether you’re baking for Valentine’s Day, a birthday, or just because Tuesday felt rough, these deliver joy in every bite.
Enjoying this article?
Subscribe and never miss an update.
We respect your privacy. Unsubscribe at any time.
Why You’ll Love This Recipe
Let me be honest—I’m picky about cookies. I want them soft, not cakey; flavorful, not just sweet; and definitely not dry or crumbly. These red velvet cookies hit every mark. First, they’re incredibly easy to make—no stand mixer required, just a bowl, a whisk, and about 20 minutes of prep. The dough comes together quickly, chills for just 30 minutes (trust me, it’s worth the wait), and bakes up with those gorgeous crackled tops and tender centers. Plus, they’re naturally egg-free if you swap in a flax egg—great for dietary needs without sacrificing texture.
What really sets these apart is the balance of flavors. The buttermilk and vinegar give that signature tang, while the cocoa adds depth without overwhelming chocolate intensity. And that frosting? It’s not overly sweet—just creamy, rich, and the perfect complement. I’ve served these at potlucks, gifted them in jars, and even snuck one (or three) straight from the cooling rack. They’re festive enough for holidays but simple enough for a random Wednesday pick-me-up. Plus, kids love the color, and adults love that they’re not cloying. Honestly, once you try one, you’ll understand why I keep a batch in my freezer just in case life gets a little too loud.
How to Make Red Velvet Cookies
Quick Overview
This recipe makes 12–14 soft, chewy red velvet cookies with a tangy Cream Cheese frosting. Total time is about 1 hour (including chilling), with 15 minutes of active prep. The dough chills for 30 minutes to prevent spreading and enhance flavor, then bakes for 10–12 minutes until just set. While they cool, you’ll whip up a simple two-ingredient frosting that pipes beautifully or spreads smoothly. It’s straightforward, forgiving, and yields bakery-worthy results every time—even if you’re not a seasoned baker.
Ingredients
For the cookies:
• 1 ¼ cups (160g) all-purpose flour
• 2 tbsp unsweetened cocoa powder
• ½ tsp baking soda
• ¼ tsp salt
• ½ cup (113g) unsalted butter, softened
• ¾ cup (150g) granulated sugar
• ¼ cup (50g) brown sugar, packed
• ⅓ cup (80ml) buttermilk, room temperature
• 1 tsp white vinegar
• 1 tsp vanilla extract
• 1–2 tsp red food coloring (gel preferred)
For the frosting:
• 4 oz (113g) cream cheese, softened
• ¼ cup (57g) unsalted butter, softened
• 1 ½ cups (180g) powdered sugar
• ½ tsp vanilla extract
Step-by-Step Instructions
In a medium bowl, whisk together flour, cocoa powder, baking soda, and salt. Set aside. In a large bowl, beat softened butter, granulated sugar, and brown sugar until light and fluffy—about 2–3 minutes. Stir in buttermilk, vinegar, vanilla, and red food coloring until smooth. Gradually add the dry ingredients, mixing just until combined. Cover the dough and chill for 30 minutes (this is non-negotiable—it prevents spreading!). Preheat oven to 350°F (175°C) and line a baking sheet with parchment paper. Scoop dough into 1.5-tbsp balls, roll gently, and place 2 inches apart on the sheet. Bake for 10–12 minutes, until edges are just set but centers still look soft. Let cool completely on the sheet before frosting.
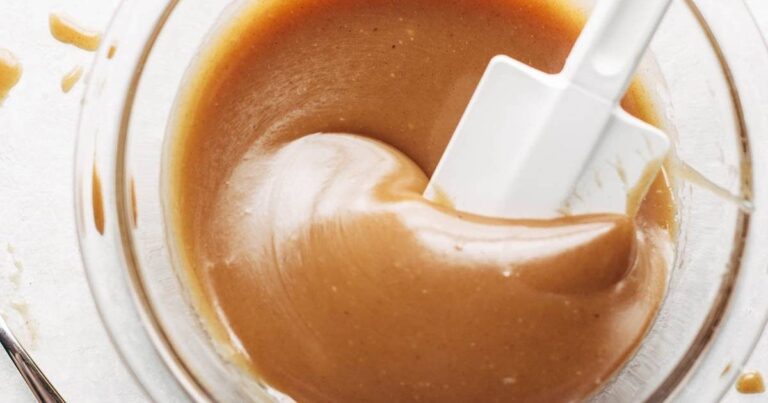
For the frosting, beat cream cheese and butter until smooth. Gradually add powdered sugar and vanilla, beating until creamy and fluffy. Frost cooled cookies with a spoon or piping bag. Enjoy immediately or store covered!
What to Serve It With
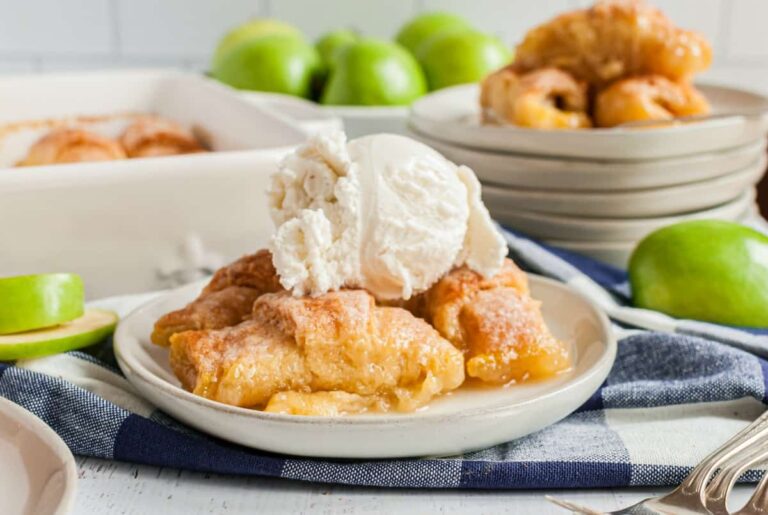
These red velvet cookies shine solo, but they also pair beautifully with a glass of cold milk, a mug of afternoon coffee, or even a scoop of vanilla Ice Cream for a mini dessert sandwich. For brunch or tea time, serve them alongside fresh berries or a light fruit salad to cut the richness. During the holidays, I like to plate them on a vintage cake stand with sprigs of rosemary or edible flowers—they’re as pretty as they are delicious. And honestly? They’re perfect tucked into lunchboxes or wrapped in parchment for a thoughtful homemade gift.
Top Tips for Perfecting Your Red Velvet Cookies
First, don’t skip the chill time—it’s the secret to thick, tender cookies that don’t flatten into pancakes. Second, use gel food coloring, not liquid—it gives vibrant color without thinning the dough. If you prefer natural coloring, beet juice works (though the hue will be more burgundy than cherry red). Third, measure your flour by spooning it into the measuring cup and leveling off—too much flour equals dry cookies. Lastly, don’t overbake! They’ll look slightly underdone in the center when you pull them out, but they’ll firm up as they cool. That’s how you keep them soft and chewy.
Storing and Reheating Tips
Store unfrosted cookies in an airtight container at room temperature for up to 3 days, or freeze for up to 2 months (thaw before frosting). Frosted cookies are best enjoyed within 2 days at room temperature or refrigerated for up to 5 days—just let them come to room temp before serving for the best texture. To revive slightly stale cookies, pop them in the microwave for 5–7 seconds with a damp paper towel. For make-ahead ease, bake and freeze unfrosted cookies, then frost fresh when ready to serve!
Frequently Asked Questions
Final Thoughts
Baking these red velvet cookies always brings me back to cozy kitchen mornings, flour dusting the counter, and the sweet anticipation of that first bite. They’re more than just a recipe—they’re a little ritual of care, a way to slow down and savor something homemade and heartfelt. Whether you’re sharing them with loved ones or keeping the whole batch for yourself (no judgment here!), I hope they bring you as much joy as they’ve brought me. Happy baking, friend—and don’t forget to lick the bowl!
Crimson Velvet Cookies How to Bake Them
Ingredients
Method
- Preheat your oven to 350°F (175°C). Line baking sheets with parchment paper.
- In a medium bowl, whisk together flour, cocoa powder, baking soda, and salt. Set aside.
- In a large bowl, beat softened butter and granulated sugar until light and fluffy, about 3 minutes.
- Beat in the egg and vanilla extract until fully combined. Add red food coloring and mix until evenly distributed.
- Alternately add the dry ingredients and buttermilk to the butter mixture, beginning and ending with dry ingredients. Mix until just combined.
- Drop rounded tablespoons of dough onto prepared baking sheets, spacing them 2 inches apart.
- Bake for 10–12 minutes, or until the edges are set and centers look slightly underbaked. Let cool on the baking sheet for 5 minutes before transferring to a wire rack.
- While cookies cool, prepare the frosting: Beat cream cheese and butter until smooth. Gradually add powdered sugar and vanilla, beating until creamy and fluffy.
- Once cookies are completely cool, spread or pipe frosting onto the tops. Serve immediately or store in an airtight container.


Those cookies sound absolutely dreamy—like a warm memory in every bite! I’ve been craving something cozy like this all week.
These cookies sound amazing—soft and tangy with that cozy grandma vibe. I’d love to try making them!
These sound absolutely irresistible—like a warm hug in cookie form! I’d love to try them soon.
These cookies look absolutely delicious—so cozy and comforting! The red velvet twist is such a fun twist on classic cookies.
These cookies sound like pure comfort in every bite! The red velvet twist takes them to a whole new level.