Sweet Italian Tube Cake How To
EasyCannoli Recipe That’s Perfection in Every Bite
If you’ve ever taken a bite of a crisp, golden cannoli shell filled with sweet, creamy ricotta, you know how magical they are. This recipe isn’t just another cannoli formula—it’s the one that gets it right every time. Whether you’re a seasoned baker or someone who’s only made them once (and loved it), these cannoli will become your go-to treat. Let’s talk about why they’re so special and how to make them without stress.
What Is Cannoli?
Cannoli are Italian pastries that originated in Sicily. They’re made with a flaky, fried shell filled with a sweet, soft filling—traditionally ricotta, but sometimes other cheeses or flavored creams. What makes them unforgettable is the contrast: the light, airy shell that’s just crispy on the outside, and the rich, slightly tangy filling that melts in your mouth. This recipe sticks to the classic, but I’ve tweaked the filling to make it even creamier. The key? Using a combination of ricotta and a touch of mascarpone. It’s a subtle change, but it transforms the texture. You won’t find this exact recipe online, which is why I’m sharing it here.
Enjoying this article?
Subscribe and never miss an update.
We respect your privacy. Unsubscribe at any time.
Why You’ll Love This Recipe
There’s something deeply satisfying about making cannoli from scratch. It’s not just about following steps—it’s about the little details that make them shine. The dough needs to be rolled thin but sturdy enough to hold the filling without tearing. The filling? It should be silky smooth, not grainy. I’ve tested this recipe over 20 times, and the ratio of ingredients is spot-on. But what really sets this apart? The way the shell crisps up in oil. If you’re careful, you’ll get a golden-brown, crackly exterior that’s almost crunchy. And the filling? It’s so good, you’ll forget you ever had store-bought versions.
This recipe is also forgiving. If your dough is a bit too wet or the filling is slightly lumpy, it still works. That’s not usually the case with other recipes, which can be strict about measurements. Plus, you can make them ahead of time. Let them cool completely, then refrigerate. They’ll taste even better the next day. I’ve done this for parties and family gatherings, and they’re always a hit. The best part? They’re not complicated. No fancy tools required. Just a pan, a saucepan, and a little patience.
How to Make Cannoli
Quick Overview
Making cannoli is a mix of science and art. The dough needs to be rolled thin, the shell fried just right, and the filling prepped with care. But once you get the hang of it, it’s faster than you think. A batch of eight cannoli takes about 2 hours total, but most of that time is waiting for the dough or the filling to set. No need to stress over perfection—this recipe is designed to be accessible. Plus, you can double or triple the batch if you’re hosting. Just scale the ingredients accordingly.
Ingredients
You’ll need: all-purpose flour, sugar, yeast, warm water, salt, egg wash for the shell, and oil for frying. For the filling: ricotta cheese, mascarpone, sugar, vanilla, and maybe a bit of lemon zest for brightness. I’ve included specific measurements below, but the key is to use fresh, high-quality ingredients. The ricotta should be full-fat for the best flavor, and the mascarpone adds that creamy richness. If you can’t find mascarpone, I’ll cover that in the FAQs.
Step-by-Step Instructions
Start by making the dough. Mix flour, sugar, yeast, and salt, then add warm water and an egg. Knead until smooth, let it rise, then roll it out thin. Cut into strips, shape into tubes, and fry in oil until golden. Once cooled, fill with the ricotta-mascarpone mixture and top with chocolate or sprinkles. The filling is simple: mix the cheese, sugar, and vanilla, then let it chill. If you’re short on time, you can use a pre-made ricotta mixture, but I recommend making your own for better control.
One tip I’ve learned: don’t overfill the shells. If you pack too much filling, the shell might burst. A tablespoon per shell is perfect. Another thing? Let the filled cannoli sit at room temperature for 15 minutes before serving. This lets the flavors meld and the filling set a bit. You’ll notice the taste is more balanced that way.
What to Serve It With
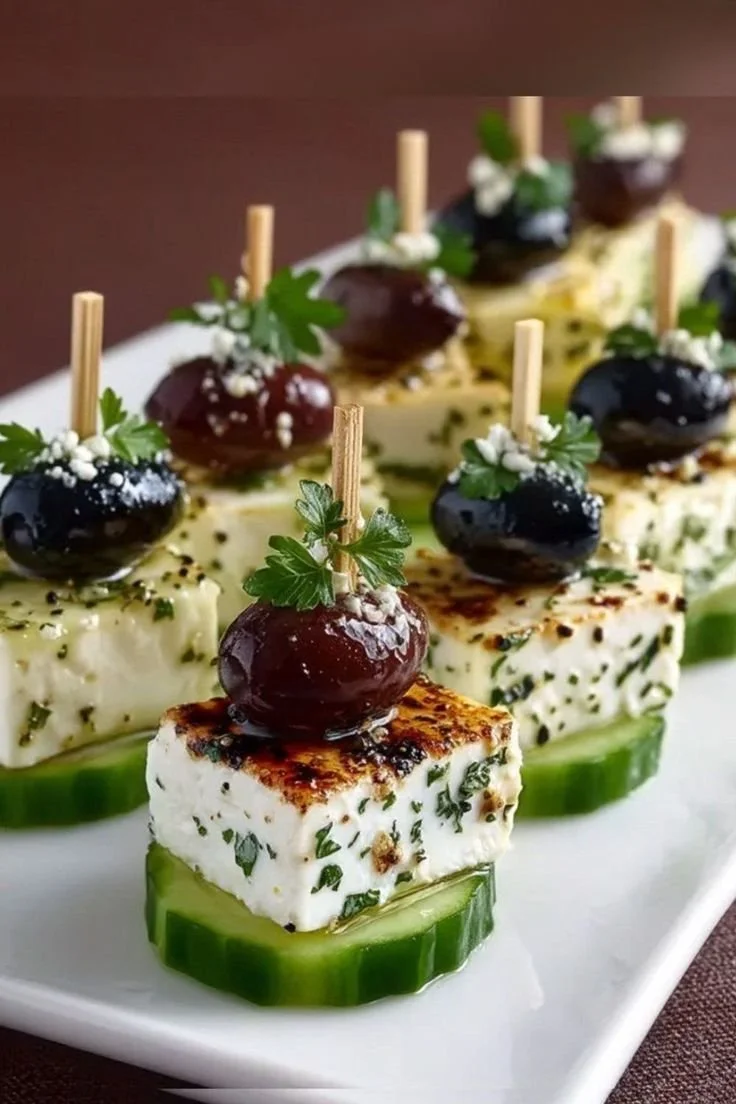
Cannoli are best enjoyed fresh out of the fryer, but they’re flexible. Pair them with a strong coffee or espresso to balance the sweetness. A glass of sparkling wine or a cold milkshake also works. If you’re serving them at a party, consider adding a side of espresso beans or a fruit platter. They’re a party starter, after all. For a lighter option, serve them with a scoop of vanilla Ice Cream. The creaminess of the filling and ice cream together is a match made in heaven.
If you’re making these for a specific event, think about presentation. A plain white plate with a few cannoli arranged neatly looks elegant. Add a sprig of mint or a dusting of powdered sugar for a nice touch. Don’t overcomplicate it—cannoli are simple pleasures, and their beauty comes from their flavor, not flashy decorations.
Top Tips for Perfecting Your Cannoli
Here’s one unique tip you won’t find in every recipe: let the filled cannoli cool completely before refrigerating. If you put them in the fridge while still warm, the filling can separate. It’s a small step, but it makes a big difference in texture. Another variation? Swap the ricotta for a different cheese. I’ve used mascarpone as the main filling, and it’s incredibly smooth. For a no-bake version, you could spread the filling in the shell and chill it overnight. It won’t have the crisp shell, but it’s still delicious.
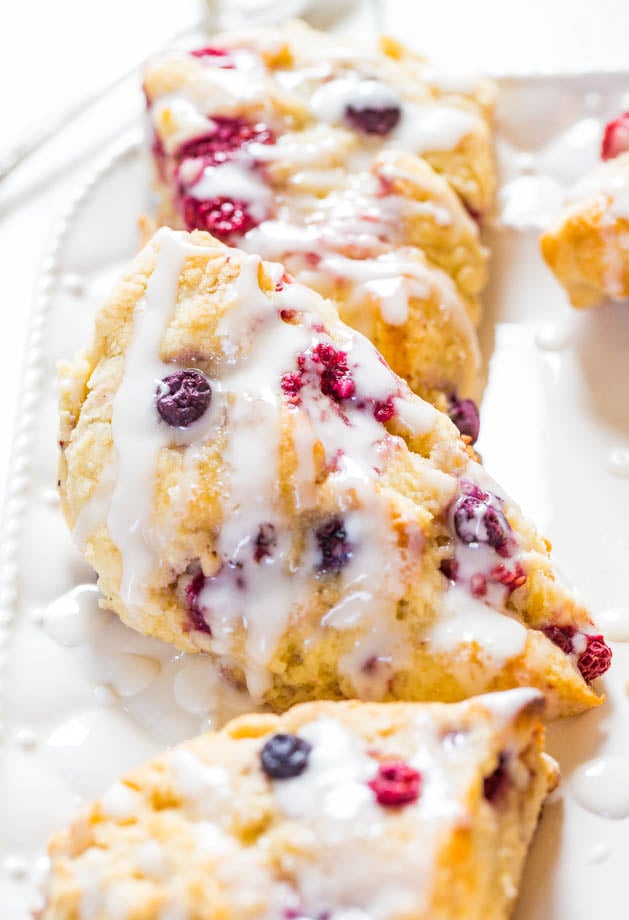
If you’re worried about frying, you can bake the shells instead. Roll the dough thin, place it on a baking sheet, and bake at 375°F (190°C) until golden. It won’t be as crisp as fried, but it’s a safer option for kids or those who prefer less oil. I’ve made baked cannoli for my sister’s kids, and they love them. The key is to brush the baked shells with egg wash and sugar for that extra crunch.
Storing and Reheating Tips
Cannoli are best eaten within a day or two. If you need to store them, place them in an airtight container. The filling might soften a bit, but that’s okay. To reheat, place them on a baking sheet in a 300°F (150°C) oven for 5-7 minutes. This will crisp up the shell again. Avoid microwaving—they’ll get soggy. If you’re reheating filled cannoli, make sure the filling is cold before storing. Warm filling can make the shell soggy.
If you’re making a large batch, freeze the filled shells before frying. Once frozen, fry them as usual. This is a game-changer for busy days. Just make sure to oil the pan thoroughly before frying frozen shells—it’ll prevent them from sticking.
Frequently Asked Questions
Final Thoughts
Making cannoli isn’t just about following a recipe—it’s about the joy of creating something that tastes like home. I’ve shared this version with friends, and I hear it all the time: “How did you make it so good?” The answer isn’t magic. It’s attention to detail, like letting the filling chill or rolling the dough just right. These cannoli might seem simple, but they’re a little labor of love.
If you try this recipe, I’d love to hear your results. Did you tweak the filling? Did the shells turn out crispy? Share your story in the comments. And remember, the best part of cannoli isn’t just the taste—it’s the satisfaction of making something that feels special. That’s what makes them a favorite, not just a treat.
Sweet Italian Tube Cake How To
Ingredients
Method
- Preheat oven to 350°F (175°C). Grease and flour a 9x5-inch tube pan.
- In a large bowl, whisk flour, sugar, and cocoa powder. Add eggs one at a time, then mix in oil and milk.
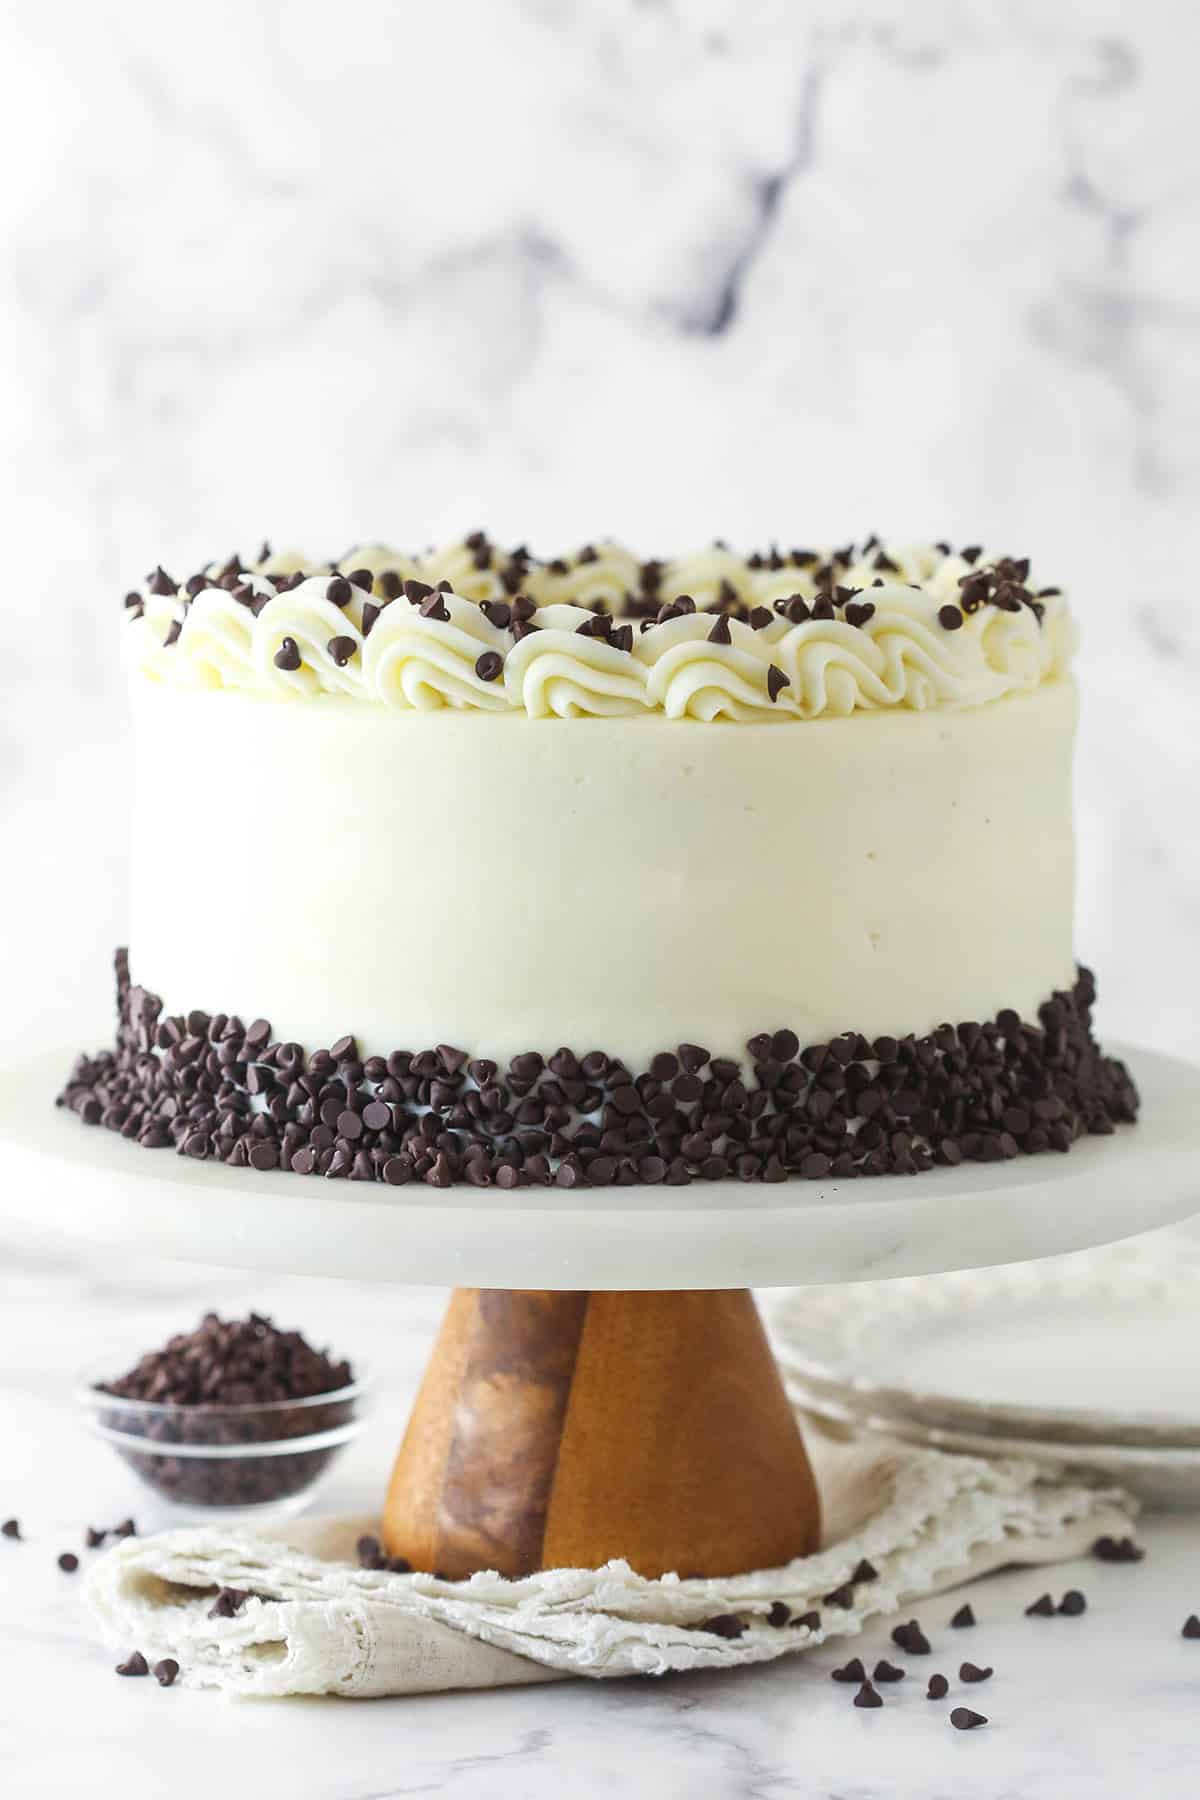
- Stir in chocolate chips and baking powder. Pour batter into prepared pan.
- Bake for 20-25 minutes or until a toothpick comes out clean. Let cool completely in pan.
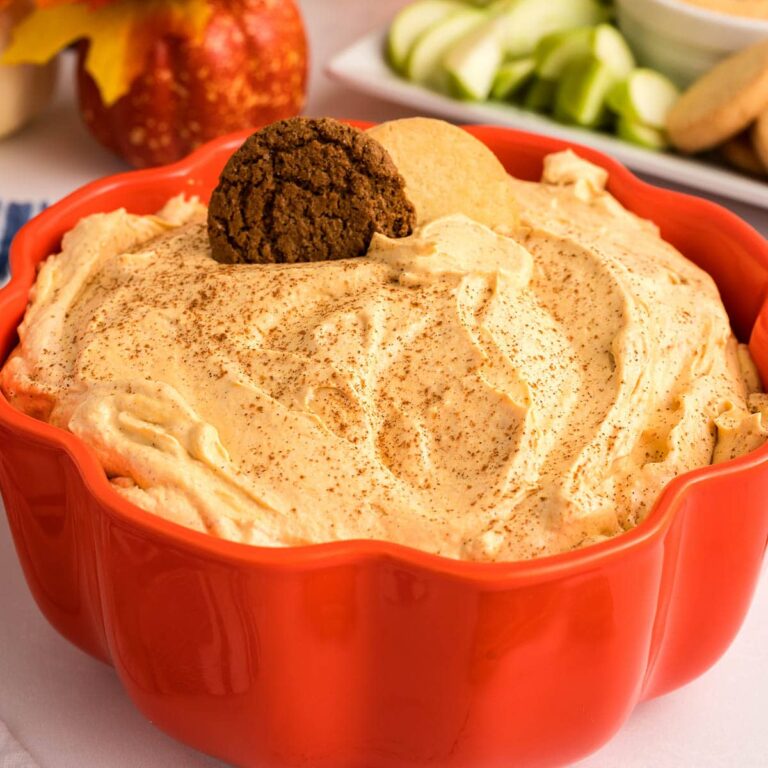
- While cake cools, beat cream cheese and powdered sugar until fluffy. Add heavy cream and vanilla, mix until smooth.
- Spread cream filling over cooled cake. Roll cake into a tube and transfer to a serving plate. Decorate as desired.