Adorable Shell Cookies How to Make Them
You know that moment when you take a bite of something so rich, so perfectly balanced, that you just close your eyes and sigh? That’s exactly what happens with these turtle cookie cups. I first made them for a friend’s birthday last fall—just a whim, really—but they vanished in under ten minutes. Since then, they’ve become my go-to treat for holidays, dinner parties, or honestly, just because it’s Tuesday and I deserve a little joy. They’re ridiculously easy to whip up, yet they look and taste like you spent hours in the kitchen. The best part? Everyone thinks you’re a baking genius (shhh… your secret’s safe with me). Whether you’re a seasoned baker or someone who still burns toast, these little indulgences will win you over—and probably earn you a few “can I get the recipe?” texts.
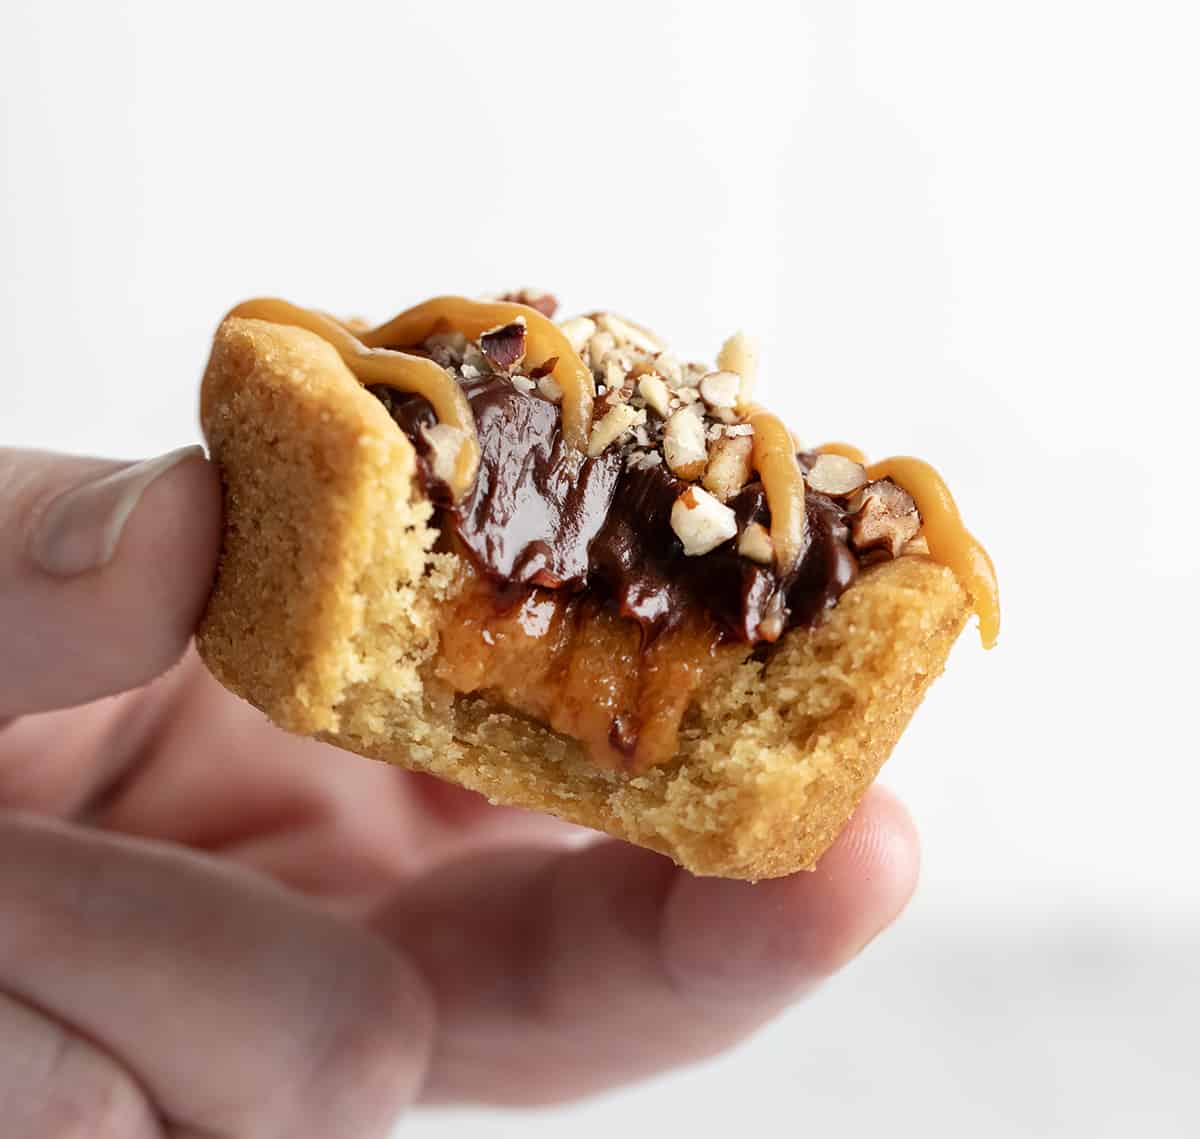
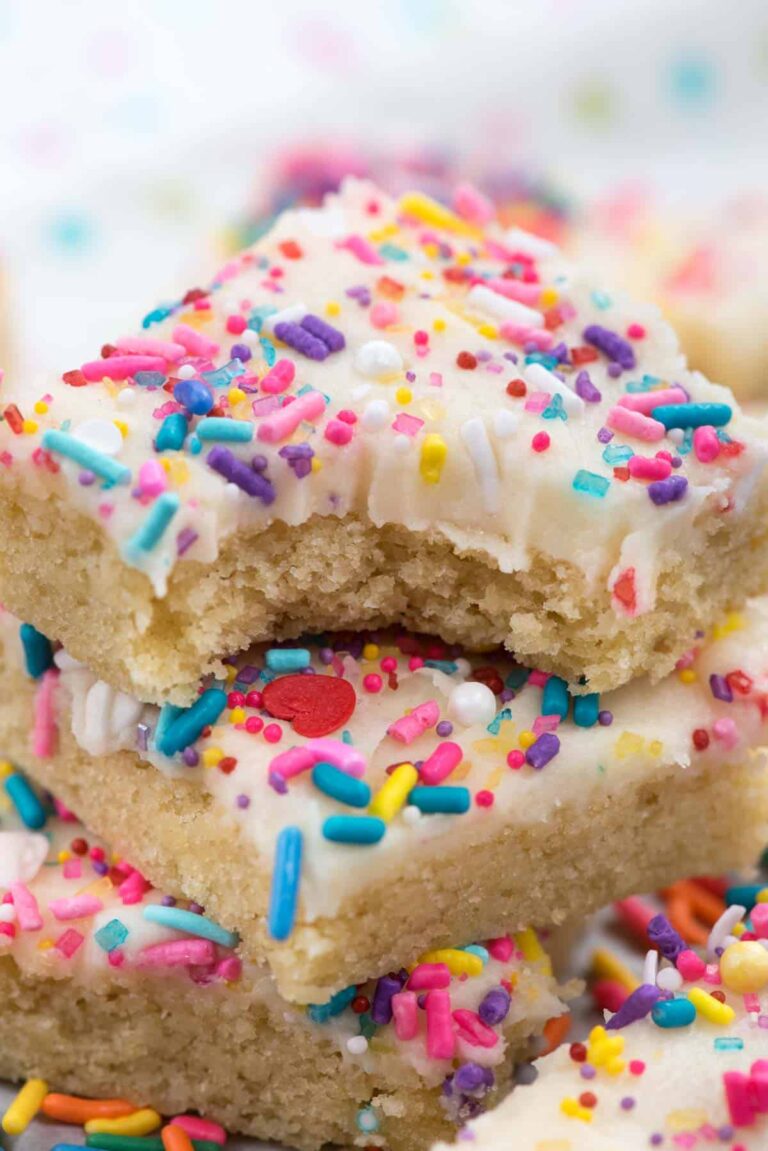
Turtle cookie cups are a decadent handheld dessert that captures all the magic of classic turtle candy—but in cookie form. Think soft, buttery shortbread-like cookie cups cradling a gooey pool of homemade caramel, studded with toasted pecans, and finished with a generous drizzle of melted chocolate. They’re named after the beloved American confection “turtles” (caramel, pecan, and chocolate clusters), but baked into individual, bite-sized portions that are way more fun to eat. Unlike traditional cookies, these are molded into mini muffin tins, giving them their signature cup shape that holds all that luscious filling without spilling. They’re not overly sweet—just rich enough to satisfy your craving without leaving you feeling heavy. Perfectly portioned and utterly irresistible, they’re the kind of dessert that disappears faster than you can say “pass the plate.”
Why You’ll Love This Recipe
First off, these turtle cookie cups are stupidly easy. No fancy techniques, no stand mixer required—just a bowl, a spoon, and about 30 minutes of your time. The dough comes together in minutes, and while it chills, you can whip up the caramel filling (which is way better than store-bought—trust me). I love that they feel special without being fussy. You don’t need a pastry degree to make them look professional; the rustic charm of the pecans peeking through the chocolate drizzle actually makes them more appealing. Plus, they’re incredibly versatile: swap pecans for walnuts if you prefer, use dark chocolate for a deeper flavor, or even add a pinch of sea salt on top for that sweet-salty magic. They’re also perfect for gifting—pop them in a cute box with a ribbon, and you’ve got an instant hit. And let’s be real: who doesn’t love a dessert that combines three of life’s greatest pleasures—cookies, caramel, and chocolate—in one adorable package? Whether you’re treating yourself or impressing guests, these little cups deliver big flavor with minimal effort.
Enjoying this article?
Subscribe and never miss an update.
We respect your privacy. Unsubscribe at any time.
How to Make Turtle Cookie Cups
Quick Overview
These turtle cookie cups come together in under an hour, including chilling time. You’ll start by making a simple shortbread-style dough, pressing it into mini muffin tins, and baking until golden. While those cool, you’ll prepare a quick stovetop caramel with pecans. Once the cups are ready, spoon in the warm caramel-pecan mixture, let it set slightly, then finish with a smooth chocolate drizzle. The result? A melt-in-your-mouth treat that’s crisp on the edges, tender in the center, and gloriously gooey in the middle. It’s the kind of recipe that feels impressive but stays refreshingly approachable.
Ingredients
For the cookie cups:
• 1 cup (2 sticks) unsalted butter, softened
• ½ cup granulated sugar
• 2 cups all-purpose flour
• ¼ teaspoon salt
For the filling:
• ½ cup heavy cream
• ½ cup light brown sugar, packed
• ¼ cup unsalted butter
• 1 cup pecans, roughly chopped and toasted
• 1 teaspoon vanilla extract
For the topping:
• 1 cup semi-sweet chocolate chips
• 1 tablespoon coconut oil or shortening (for smooth drizzling)
Step-by-Step Instructions
In a large bowl, cream together the softened butter and sugar until light and fluffy—about 2 minutes by hand. Stir in the flour and salt until just combined; the dough will be thick but manageable. Cover and chill for 20 minutes (this makes it way easier to handle). Preheat your oven to 350°F (175°C) and lightly grease a 24-cup mini muffin tin. Roll the dough into 1-inch balls and press each firmly into a muffin cup, shaping it up the sides to form a little bowl. Bake for 12–14 minutes, until edges are lightly golden. Let cool completely in the tin.
While the cups bake, make the caramel filling: In a small saucepan over medium heat, combine heavy cream, brown sugar, and butter. Bring to a gentle boil, stirring constantly, and cook for 3–4 minutes until thickened slightly. Remove from heat, stir in toasted pecans and vanilla. Let cool for 5 minutes—it should be pourable but not runny.
Spoon about 1 teaspoon of warm caramel mixture into each cooled cookie cup. Let set for 15–20 minutes. Meanwhile, melt chocolate chips with coconut oil in the microwave in 20-second intervals, stirring until smooth. Drizzle generously over the filled cups. Allow chocolate to set before serving—or enjoy warm if you’re feeling extra indulgent!
What to Serve It With
These turtle cookie cups are rich enough to stand alone, but they pair beautifully with a scoop of vanilla bean ice cream or a dollop of whipped cream for an extra-luxe dessert. If you’re serving them at a party, arrange them on a rustic wooden board alongside fresh berries or a sprinkle of flaky sea salt for contrast. For coffee lovers, they’re divine with a strong espresso or a creamy latte—the bitterness balances the sweetness perfectly. And hey, if you’re keeping it casual? A glass of cold milk does the trick just fine.
Top Tips for Perfecting Your Turtle Cookie Cups
Don’t skip chilling the dough—it prevents spreading and makes pressing into the tins much easier. Toast your pecans! It deepens their flavor and adds a lovely crunch. If your caramel seems too thick after cooling, gently reheat it with a splash of cream. For the chocolate drizzle, coconut oil gives it a nice sheen and helps it set firmly without getting chalky. And finally, don’t overbake the cups—they should be just golden at the edges; they’ll continue to firm up as they cool.
Storing and Reheating Tips
Store cooled turtle cookie cups in an airtight container at room temperature for up to 3 days, or refrigerate for up to a week (they actually get even chewier!). To reheat, pop them in a 300°F oven for 3–5 minutes until warm and slightly melty—or enjoy straight from the fridge for a firmer texture. They also freeze beautifully! Wrap individually in plastic and freeze for up to 2 months; thaw at room temperature before serving.
Frequently Asked Questions
Final Thoughts
Making these turtle cookie cups always brings me back to that first batch I baked for my friend—nervous, excited, and completely unaware that I’d stumbled onto something so special. There’s something deeply satisfying about creating a dessert that feels both nostalgic and new, comforting yet indulgent. Whether you’re sharing them with loved ones or sneaking one (or three) when no one’s looking, I hope they bring you as much joy as they’ve brought me. Go ahead—preheat that oven, gather your ingredients, and treat yourself. You’ve earned it.
Adorable Shell Cookies How to Make Them
Ingredients
Method
- Preheat your oven to 350°F (175°C) and line a baking sheet with parchment paper.
- In a large bowl, cream together the softened butter and sugar until light and fluffy, about 2-3 minutes.
- Mix in the vanilla extract until fully combined.
- Gradually add the flour and salt to the butter mixture, mixing on low speed or by hand until just combined.
- Add cold water, one tablespoon at a time, until the dough comes together into a smooth ball. Do not overmix.
- Roll the dough out on a lightly floured surface to about 0.25-inch thickness.
- Use a shell-shaped cookie cutter to cut out cookies. If you don’t have one, gently shape each piece by hand into a small oval and use a fork to create ridges resembling a seashell.
- Place the shaped cookies onto the prepared baking sheet, leaving about 1 inch between each.
- Bake for 18–22 minutes, or until the edges are lightly golden.
- Allow cookies to cool on the baking sheet for 5 minutes before transferring to a wire rack to cool completely.
These cookies sound absolutely irresistible—I can just imagine that perfect balance with every bite!
I love this idea! The combination sounds absolutely divine—perfect for a cozy afternoon treat. Can’t wait to try making them.
I just tried these shell cookies and they’re incredible—so rich and perfectly sweet, just like the post says! Definitely making them again.
These cookies sound absolutely irresistible—I can already picture that perfect balance of flavors making me close my eyes in bliss! Can’t wait to try the recipe.
I love how these cookies balance sweetness with a hint of sea salt—definitely making them this weekend!