Sweet Cookie Bars How Easy They Are
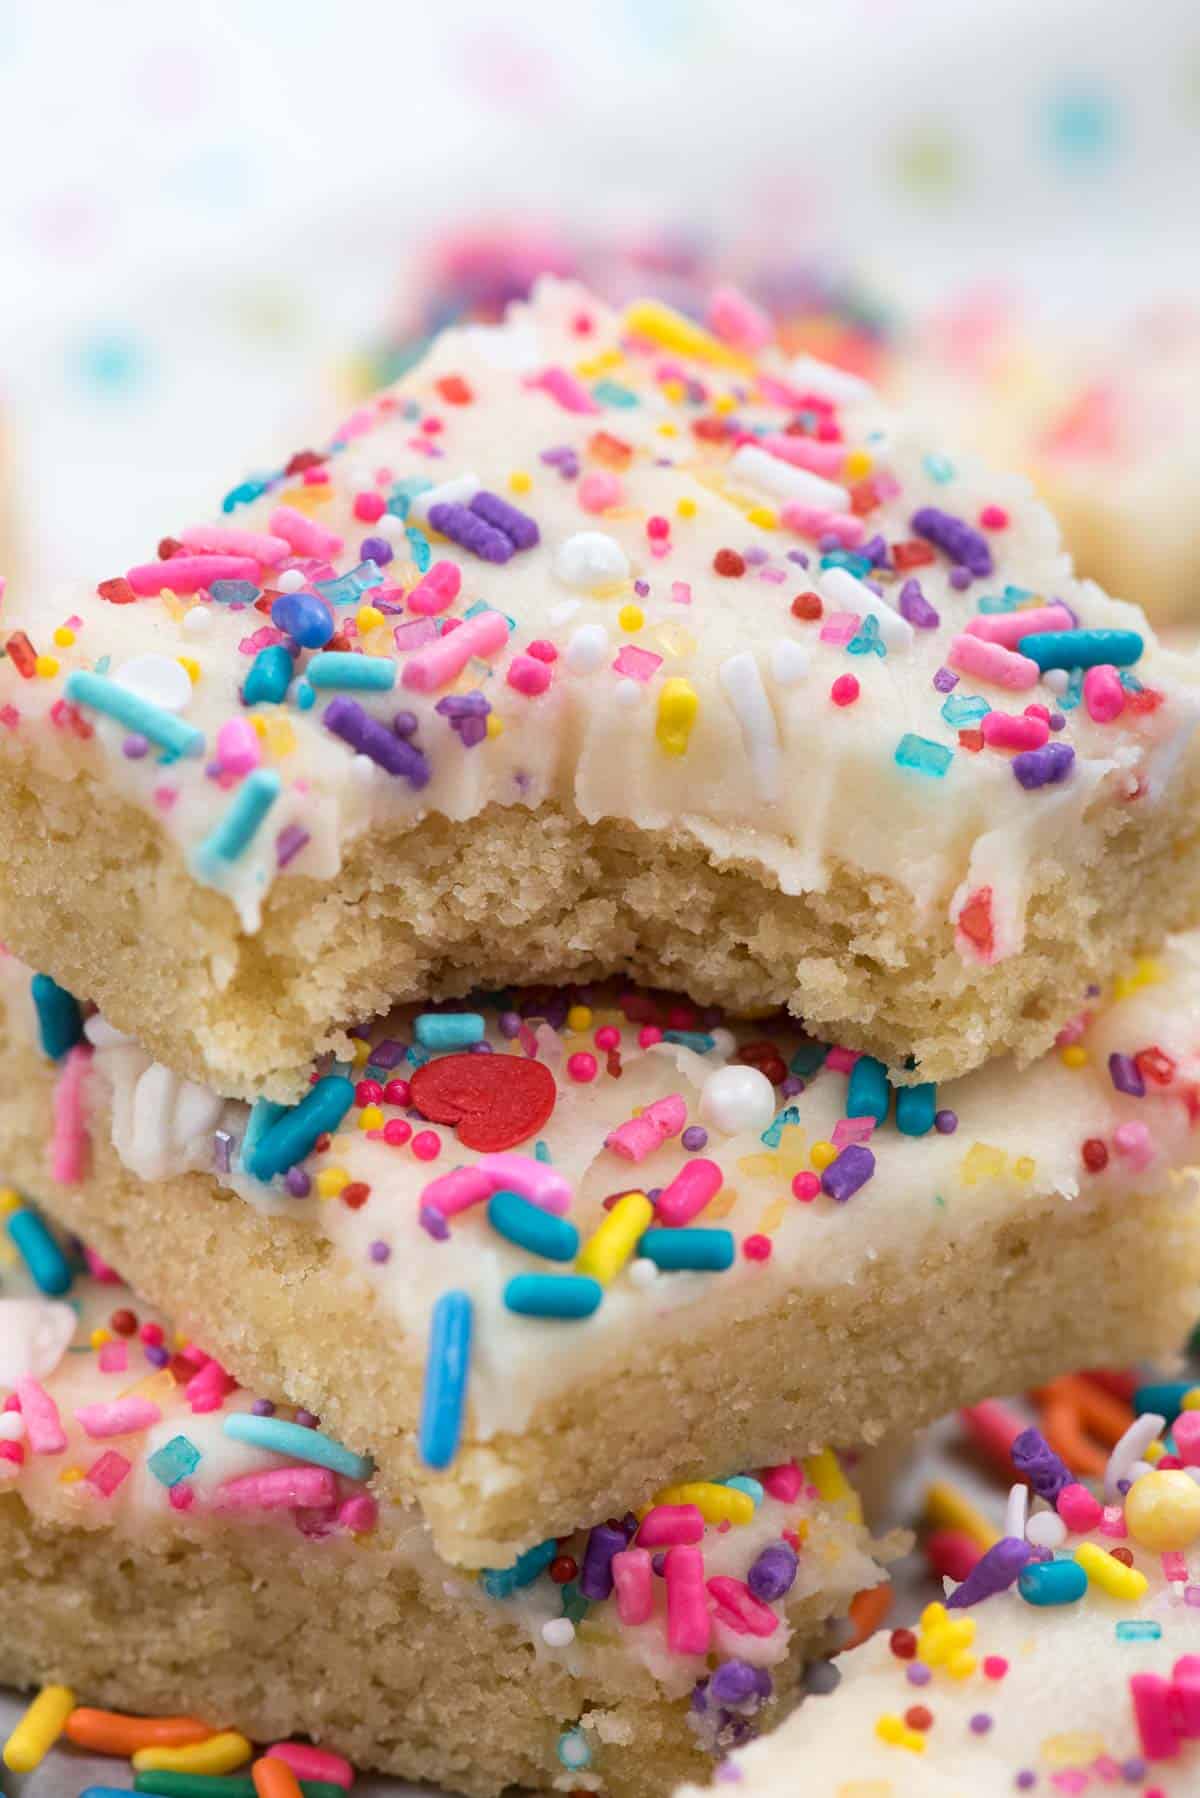
Sugar Cookie Bars: Soft, Chewy, and Impossible to Resist
I’ll never forget the first time I made these sugar cookie bars—it was a rainy Sunday afternoon, and my kitchen smelled like vanilla and nostalgia. I’d been craving something sweet but didn’t want to spend hours rolling out dough or cutting shapes. Then it hit me: why not turn my favorite sugar cookie recipe into a bar? The result? A thick, pillowy-soft treat with that perfect balance of buttery richness and subtle sweetness. They’re ridiculously easy, come together in one bowl, and bake up golden at the edges with a tender center that practically melts in your mouth. Plus, they’re endlessly customizable—swirl in sprinkles for birthdays, top with Cream Cheese frosting for holidays, or keep it simple with a dusting of powdered sugar. Whether you’re feeding a crowd or just treating yourself (no judgment here!), these sugar cookie bars are the kind of recipe you’ll want to keep stashed in your back pocket forever.
What Is Sugar Cookie Bars?
Sugar cookie bars are exactly what they sound like—a no-fuss, slice-and-serve version of classic sugar cookies, baked in a single pan for maximum convenience and minimum cleanup. Think of them as the laid-back cousin of traditional cut-out cookies: same beloved flavor, but way more forgiving and far less fussy. Instead of chilling dough, rolling it thin, and carefully cutting shapes, you simply press the soft, slightly sticky dough into a greased baking dish and pop it in the oven. The result is a thick, chewy-yet-tender bar with a delicate crust on top and a melt-in-your-mouth interior. They’re perfect for anyone who loves the taste of homemade sugar cookies but doesn’t have the patience (or counter space!) for intricate decorating. And honestly? Once you try them this way, you might never go back to the old method.
Enjoying this article?
Subscribe and never miss an update.
We respect your privacy. Unsubscribe at any time.
Why You’ll Love This Recipe
First off, these sugar cookie bars are so easy—even if you’re not confident in the kitchen. There’s no mixer required (though you can use one if you prefer), no chilling time, and definitely no fancy techniques. Just stir, press, bake, and slice. That means you can go from craving to cookie in under an hour. They’re also incredibly versatile: leave them plain for a Simple Sweet Treat, or dress them up with colored sugar, chocolate chips, or a swoosh of frosting. I’ve even folded in lemon zest for a bright twist or swapped vanilla for almond extract when I’m feeling fancy.
Another huge win? They travel well. Pack them in lunchboxes, bring them to potlucks, or gift them in a cute tin—they hold their shape beautifully and stay soft for days. Plus, kids absolutely adore them (and honestly, so do adults who pretend they don’t). The texture is everything: not too cakey, not too crisp—just that perfect middle ground that makes you reach for “just one more slice.” And because they’re bars, there’s no worrying about uneven baking or cookies spreading too much. Every bite is consistent, comforting, and deeply satisfying. Trust me, once you make these, they’ll become your go-to for birthdays, holidays, or anytime you need a little sweetness in your day.
How to Make Sugar Cookie Bars
Quick Overview
This recipe makes 16 generous bars using pantry staples you likely already have on hand. It starts with creaming butter and sugar, then adding eggs and vanilla for richness and flavor. Flour, baking powder, and a pinch of salt are stirred in just until combined—overmixing is the enemy here! The dough is pressed evenly into a greased 9×13-inch pan and baked at 350°F (175°C) for about 22–25 minutes, until the edges are lightly golden and the center is set but still soft. Let it cool completely before slicing—this step is crucial for clean cuts and perfect texture. Total hands-on time? Maybe 15 minutes. Total wait time while they cool? Well… that’s the hardest part.
Ingredients
You’ll need: 1 cup (2 sticks) unsalted butter, softened; 1½ cups granulated sugar; 2 large eggs; 2 teaspoons pure vanilla extract; 3 cups all-purpose flour; 1 teaspoon baking powder; and ½ teaspoon salt.
Step-by-Step Instructions
In a large bowl, cream together the softened butter and sugar until light and fluffy—about 2–3 minutes if using a hand mixer, or 4–5 minutes by hand. Beat in the eggs one at a time, then add the vanilla. In a separate bowl, whisk together the flour, baking powder, and salt. Gradually add the dry ingredients to the wet mixture, stirring just until no streaks of flour remain. The dough will be thick and slightly sticky—that’s perfect! Press it evenly into a greased 9×13-inch baking pan (I like to line mine with parchment for easy removal). Bake at 350°F (175°C) for 22–25 minutes, until the edges are golden and a toothpick inserted into the center comes out clean or with a few moist crumbs. Let cool completely in the pan before slicing into squares.
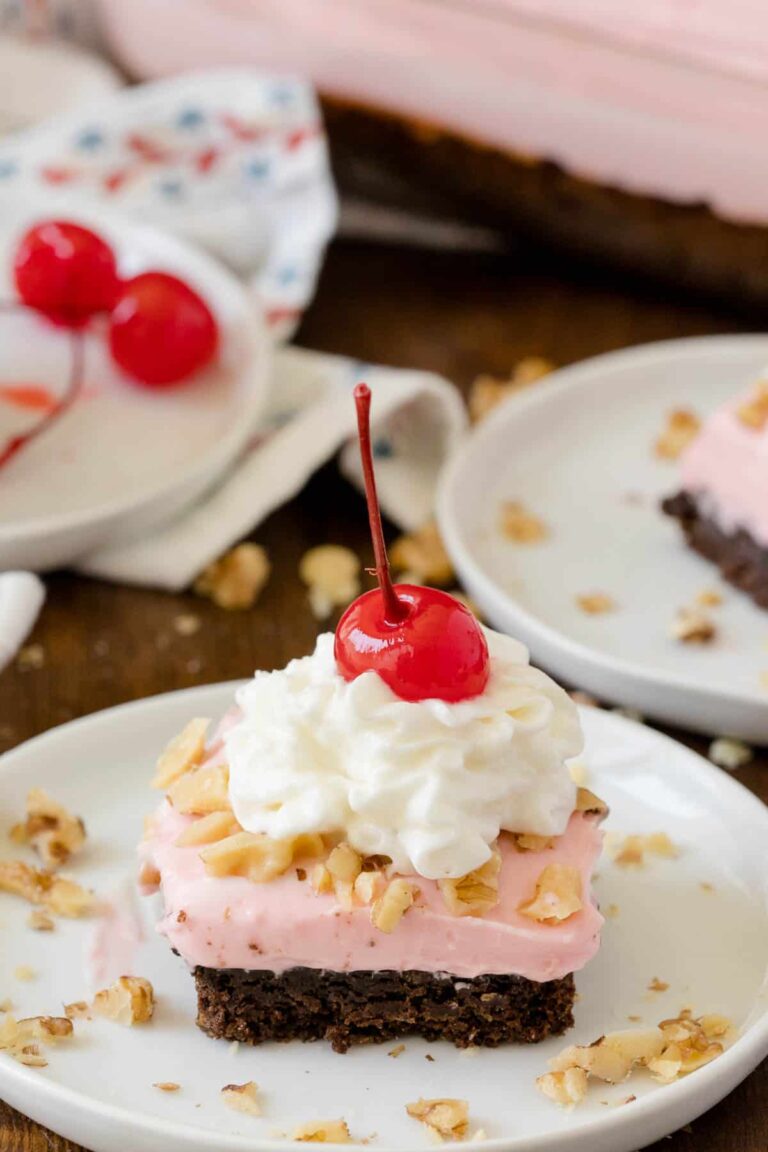
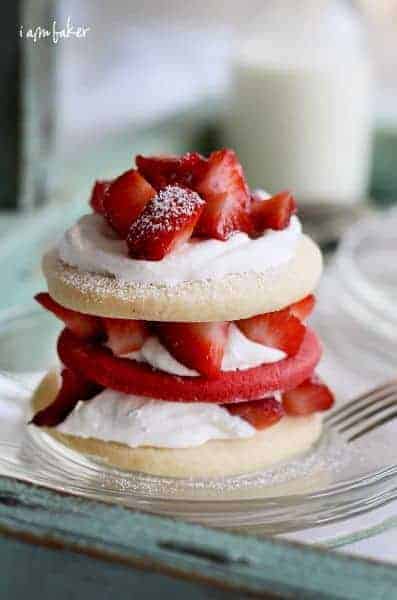
What to Serve It With
These sugar cookie bars are delightful on their own, but they truly shine when paired with something creamy or fruity. A glass of cold milk is a classic match—its coolness balances the sweetness beautifully. For a more indulgent treat, serve them warm (yes, reheat them slightly!) alongside a scoop of vanilla Ice Cream or a dollop of whipped cream. If you’re feeling festive, top each bar with a spoonful of berry compote or a drizzle of melted white chocolate. They’re also fantastic with coffee or tea in the afternoon, especially when you need a little pick-me-up that feels like a hug in dessert form.
Top Tips for Perfecting Your Sugar Cookie Bars
First, don’t overbake! These bars should look just set in the center when you take them out—they’ll firm up as they cool. Overbaking leads to dryness, and we want that soft, chewy texture. Second, make sure your butter is truly softened (not melted!) so it creams properly with the sugar. Third, press the dough firmly and evenly into the pan—this prevents air pockets and ensures even baking. If you’re adding mix-ins like sprinkles or chocolate chips, fold them in gently after combining the wet and dry ingredients. And finally, patience is key: let them cool completely before slicing. I know it’s tempting, but warm bars will crumble. Trust the process—it’s worth the wait!
Storing and Reheating Tips
Store cooled sugar cookie bars in an airtight container at room temperature for up to 5 days. They actually taste even better the next day as the flavors meld! For longer storage, wrap individual bars tightly in plastic wrap and freeze for up to 2 months—thaw at room temperature when ready to enjoy. To reheat, pop a bar in the microwave for 10–15 seconds for a warm, soft treat, or warm it in a 300°F (150°C) oven for 5–7 minutes. Just don’t overdo it, or they’ll dry out. Pro tip: if they’ve lost a bit of moisture, a quick spritz of water before reheating helps revive them.
Frequently Asked Questions
Final Thoughts
These sugar cookie bars have become one of those recipes I turn to again and again—not just because they’re delicious, but because they remind me that the best treats don’t need to be complicated. They’re warm, welcoming, and full of simple joy. Whether you’re baking with kids, hosting friends, or just needing a little comfort after a long day, these bars deliver every time. So go ahead, grab that bowl, and make a batch. I promise you won’t regret it—and neither will anyone lucky enough to taste them.
Sweet Cookie Bars How Easy They Are
Ingredients
Method
- Preheat your oven to 350°F (175°C). Grease a 9x13-inch baking pan or line it with parchment paper.
- In a large bowl, cream together the softened butter, granulated sugar, and brown sugar until light and fluffy.
- Beat in the eggs one at a time, then mix in the vanilla extract.
- In a separate bowl, whisk together the flour, baking powder, and salt. Gradually add the dry ingredients to the wet mixture and mix until just combined.
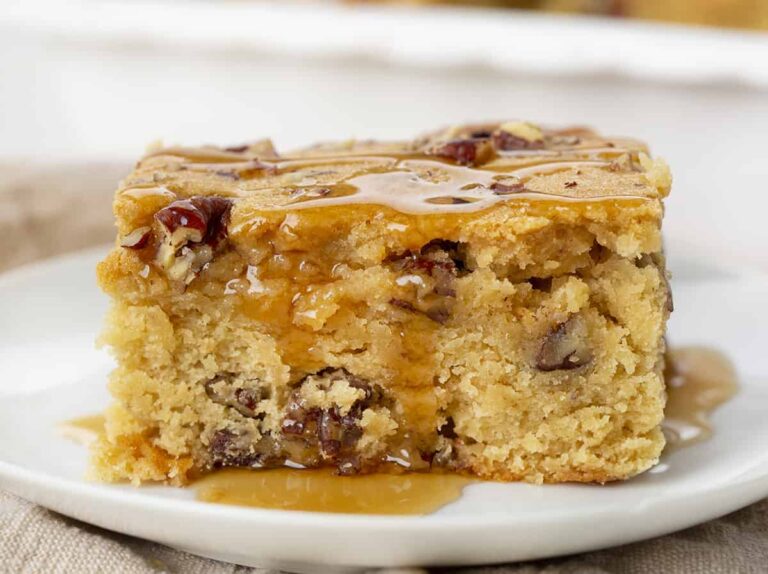
- Stir in the white chocolate chips, if using. Spread the dough evenly into the prepared baking pan.
- Bake for 18–22 minutes, or until the edges are lightly golden and a toothpick inserted in the center comes out clean.
- Allow the cookie bars to cool completely in the pan before cutting into squares and serving.
This sounds so cozy and delicious! The smell of freshly baked sugar cookies must be the best feeling.
I love how comforting and simple these sugar cookie bars are! They’re always a hit with my family.
I just made these sugar cookie bars for the first time and they turned out amazing—so soft and chewy, just like you described! Definitely adding them to my regular recipe rotation.
I totally get it—those bars are so good! I made them last weekend and my whole house smelled amazing.
These bars sound absolutely irresistible! I’ve got a sweet tooth myself—can’t wait to try this recipe.